

I bought different designs of wrapping paper from National Bookstore. You can also use cartolina as well but the thinner the paper, the better. It's up to you how big you want your pinwheels to be, the important thing is that you cut the paper into a SQUARE shape. Mine ranged from 12" to about 16" in size.

Next, fold your square sheet of paper accordion style (like making a fan). My folds were about an inch wide.
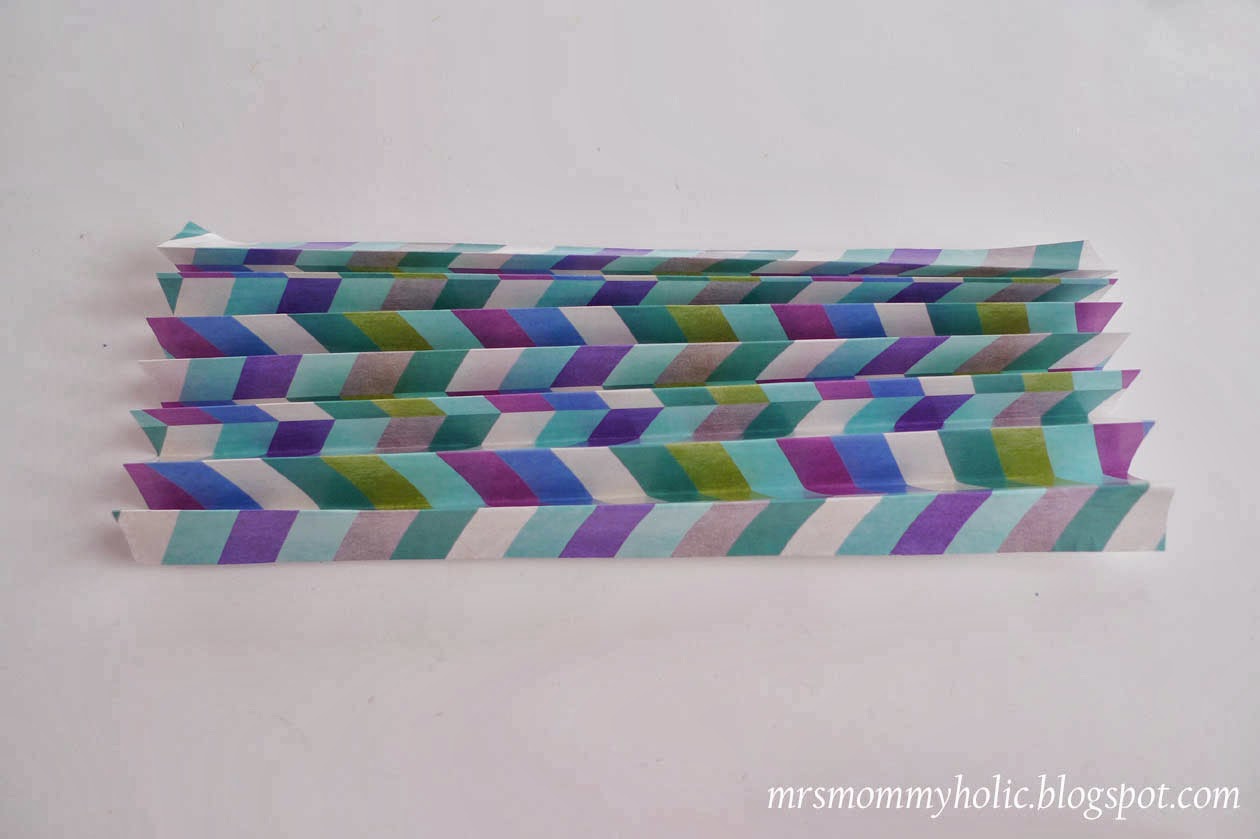
You can also cut the ends into different shapes (circular, pointy) to give the medallion a pretty shape.

Next, fold the paper accordion in the middle.

Then use double-sided tape to join the edges together.

Two fans will form one pinwheel, so just repeat the process for the other half.

Again, use double-sided tape to secure both fans together to form the pinwheel.


So I threaded a piece of yarn in the middle (see the holes where you connected the fans?)

Then just knot it tightly in the back part.

This will secure the pinwheel nicely. :)

Other tutorials tell you that you can tape the pinwheel straight to the wall or backdrop, but I felt that it might not hold for very long. So I followed the tip from here which showed me to cut small strips of cardboard (I cut my strips from a folder), then fold them about half an inch and put double-sided tape on that part.

Stick the fold with the double-sided tape on the back part, in one of the creases of the accordion.


You can use the pinwheel as is, or add embellishments to the center of the medallion. You can cut a smaller circle and use a decorative puncher to make it prettier. Then, just use masking tape to stick it in the middle.

Here are other ways I decorated the center of the pinwheel (like using scraps of your wrapping paper)

You can also use doilies which you can buy at the Landmark grocery.

I was really pressed for time so I wasn't able to make as much pinwheels as I wanted. To add to the mix, I also used the biggest sized doilies (16") and printed out the couple's initials and silhouette art which I glued in the middle.

And viola! Here's the finished product. :) I used masking tape to mount everything to the wall and they stayed put until the end of the party. It was also pretty easy to take them down, so now I'm thinking of recycling them to decorate the kids' room.


Thanks MrsMommyHolic for this tutorial. I've done the paper medallion once before, but had slight difficulty when trying to hang it up. Definitely will use your tips this time round!
ReplyDeleteI got an idea for my project because of this DIY paper craft. Nice blog. Keep it up. Thanks
ReplyDelete